It’s no secret that Apple restricts coding in the Swift language to its Xcode platform. And the fact that Xcode is only available on Macs leaves developers with Windows machines at a disadvantage if they want to code an iOS application. While one can spend a considerable amount of money buying a Mac, there is actually a way to install Xcode on Windows using virtualization. In this article, we will guide you through all the necessary steps to set up Xcode on Windows.
Set Up a macOS Virtual Machine
If you are a long-time developer, virtual machines need no introduction. For everyone else, a virtual machine is software that lets you use another operating system without having to boot it separately. This means users can run macOS inside Windows andvice versa.
Although running another operating system means system resources will be shared between the two systems, users can configure each OS’s RAM and CPU cores, making things much easier.

Now that we’ve explained the method, the next step is choosing virtual machine software. While there are many options available on the Internet, we have chosen VirtualBox for this tutorial because it’s the easiest to set up and has a user-friendly UI.
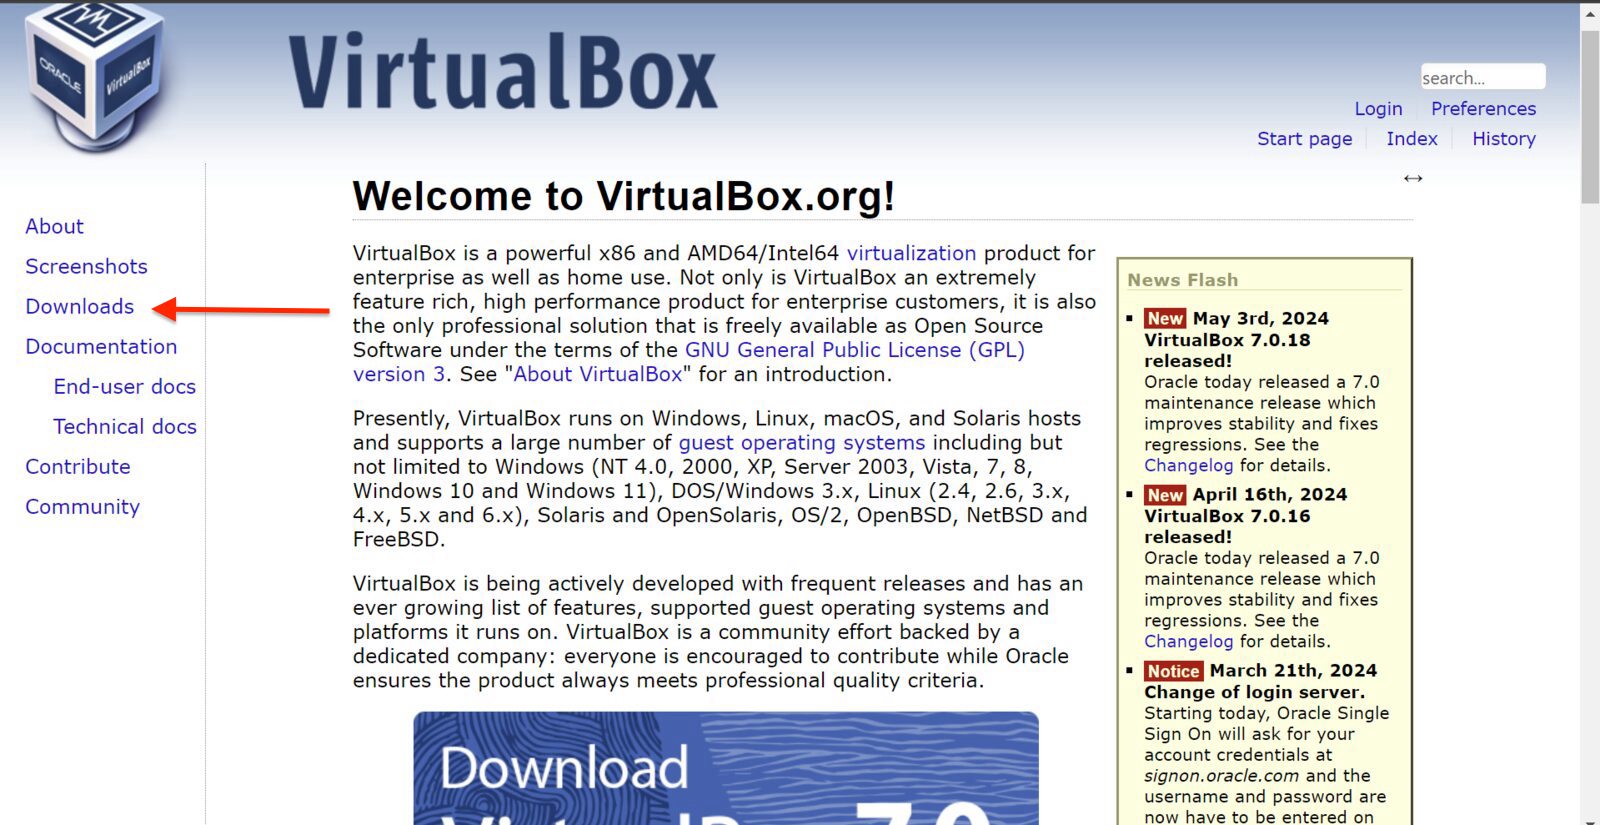
Step 1: Download VirtualBox
Thankfully, the process of installing VirtualBox is pretty simple:
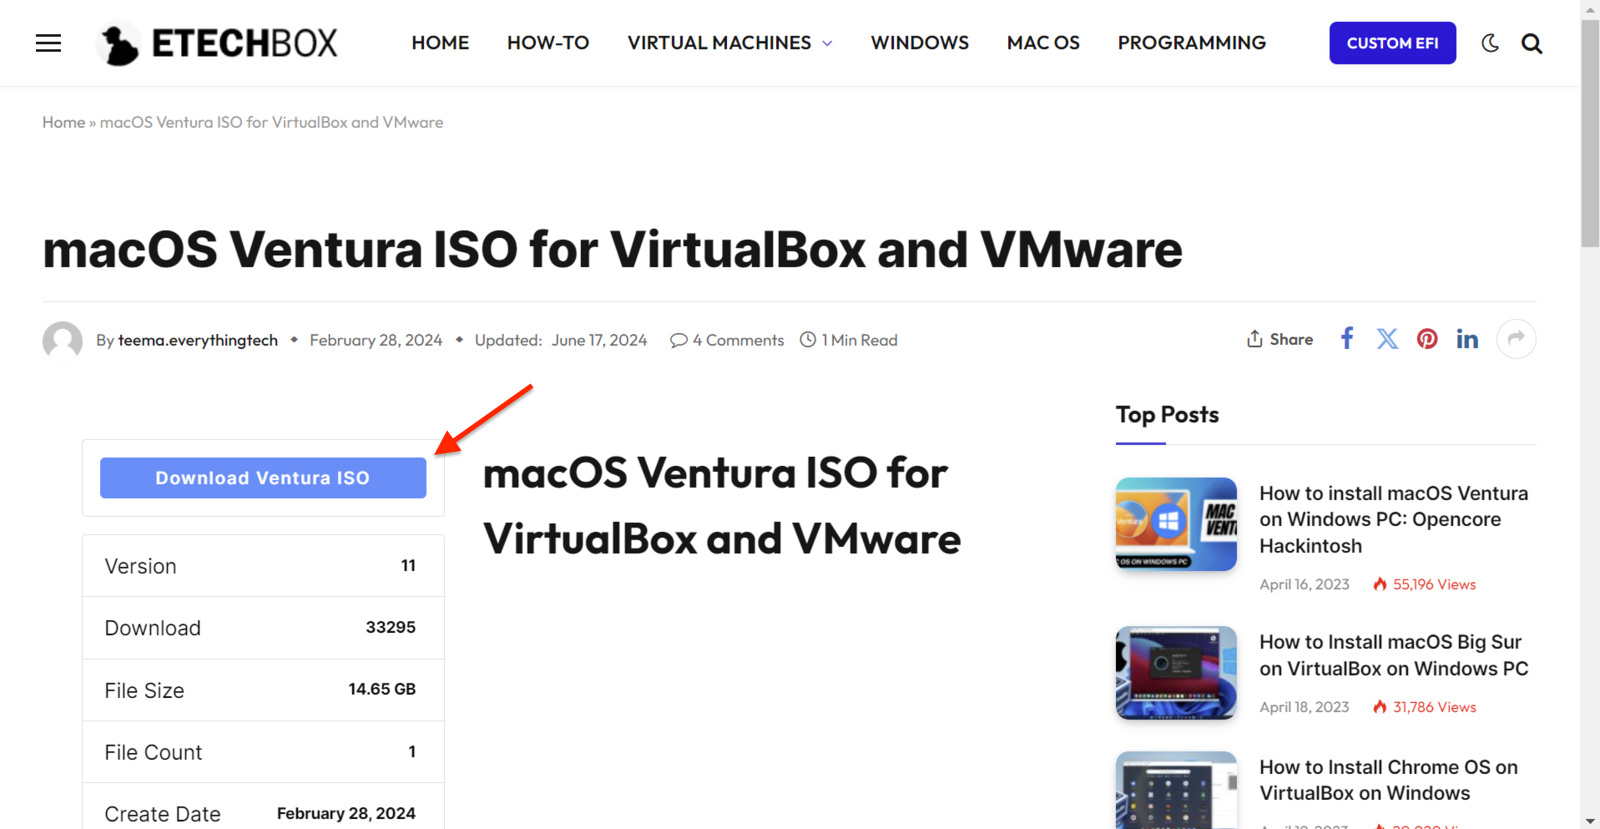
Step 2: Download macOS ROM
Once VirtualBox is installed, the next step is to download macOS. Although there are many ways to acquire the latest macOS ROM, downloading the ROM from the Internet is the easiest. To do this:
Step 3: Set up VirtualBox
Now, we need to import the downloaded ROM to VirtualBox and set up the virtual machine. Here’s how you may do it:
Step 4: Change VirtualBox settings
Before we proceed with installing Xcode on your Windows machine, there are a few settings you need to change to ensure that your virtual machine works as intended. Here’s how:
After making these changes, we also need to modify some settings through the command prompt to make the virtual machine work with a non-Apple device. Firstly, copy the virtual machine’s name and then open the command prompt as an administrator. Run the following commands given below.
However, replace “VM Name” with the name of your virtual machine. Additionally, it is important to note that these commands are for an Intel-based Windows laptop.
Step 5: Install Xcode
After successfully running the commands, close the command prompt window. Then follow these steps: